This article contains affiliate links. We earn a small commission if you purchase through our links, at no extra cost to you. Read more in our affiliate disclaimer.
Collecting rainwater is an excellent way to reduce water consumption and make use of nature’s own resources. But what do you do when the water barrels are in different locations and you need to move water to irrigate your crops? The solution is a portable 12V water pump that you can take wherever the water is needed.
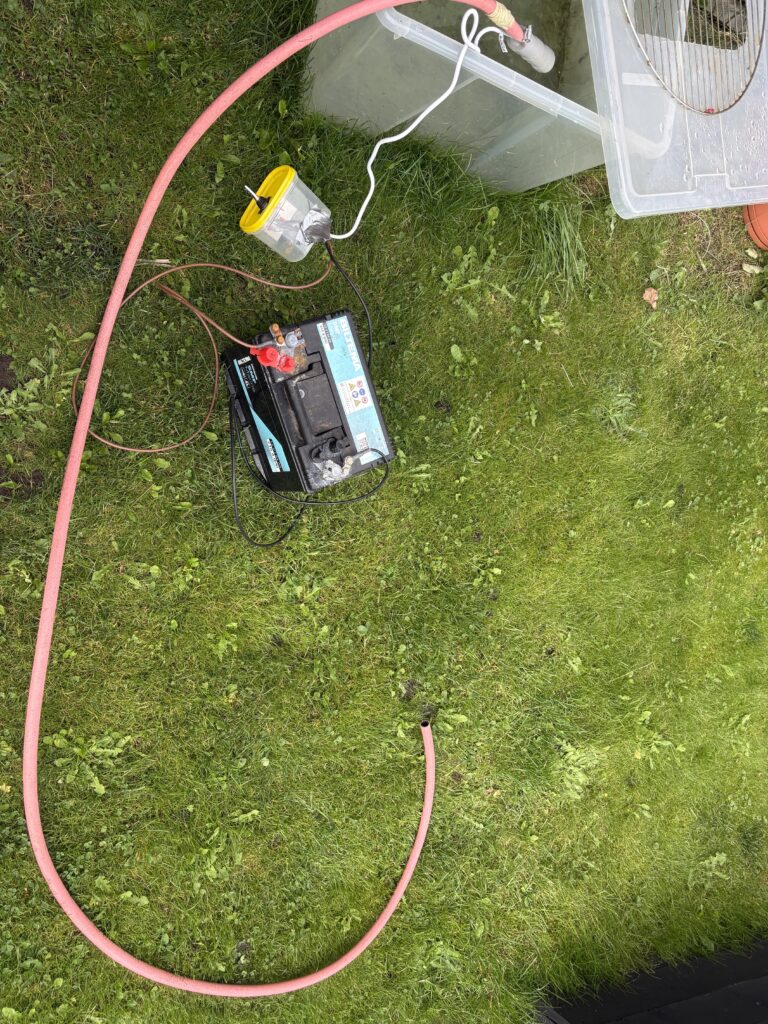
In this guide, I’ll show you how I built my own portable water pump with simple components – perfect for off-grid gardening or when you don’t have access to running water.
Why a Portable Water Pump?
Many of us striving for self-sufficiency set up barrels and containers to collect rainwater. The problem arises when these barrels are on one side of the property but the flowers and vegetable garden are on the other. Carrying buckets back and forth quickly becomes tedious, especially when there’s a lot that needs watering.
A portable 12V pump solves this elegantly. You can take the pump to any water container, connect it, and pump the water where it’s needed.
Required Components
Main Components:
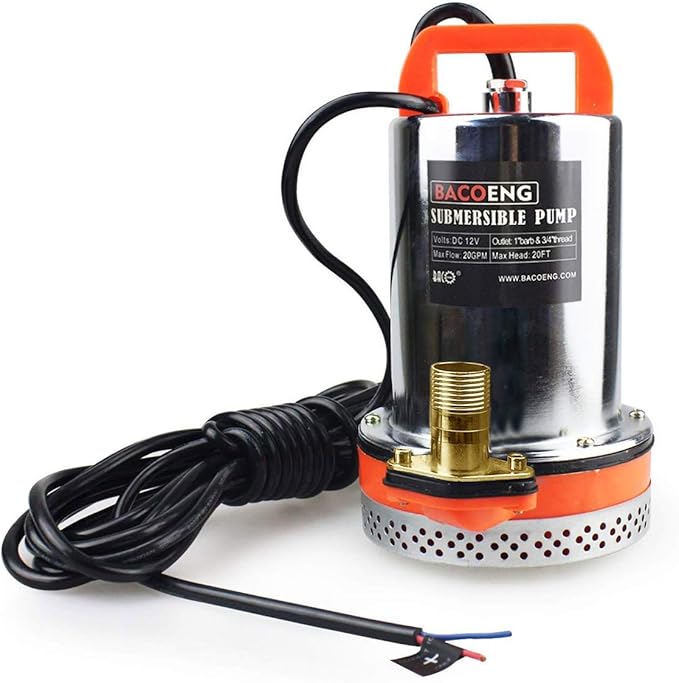
12V Submersible Pump
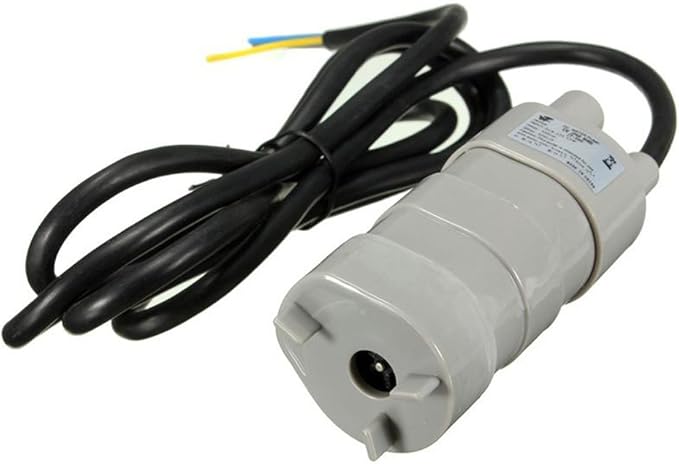
Buy on Amazon – approximately $12
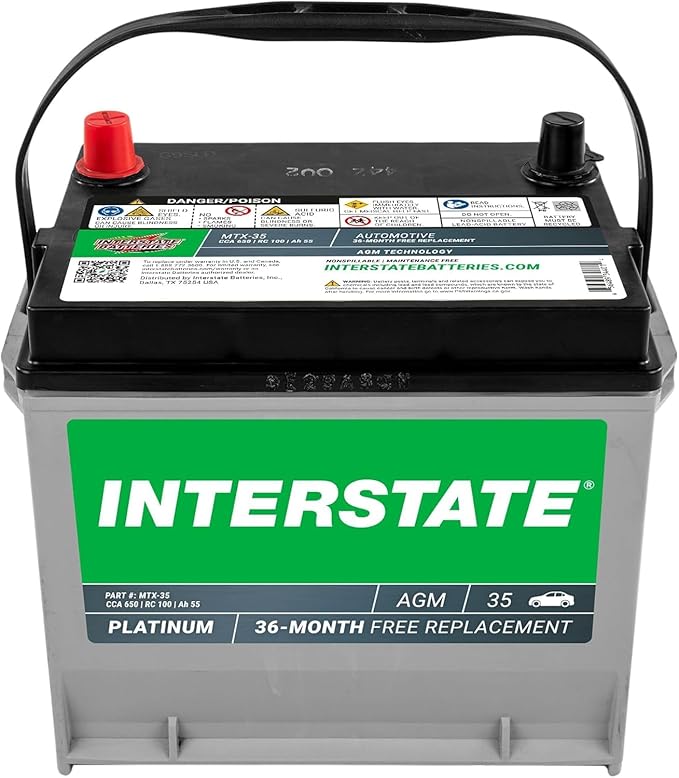
12V Car Battery (or LiFePO4 battery)
Garden Hose
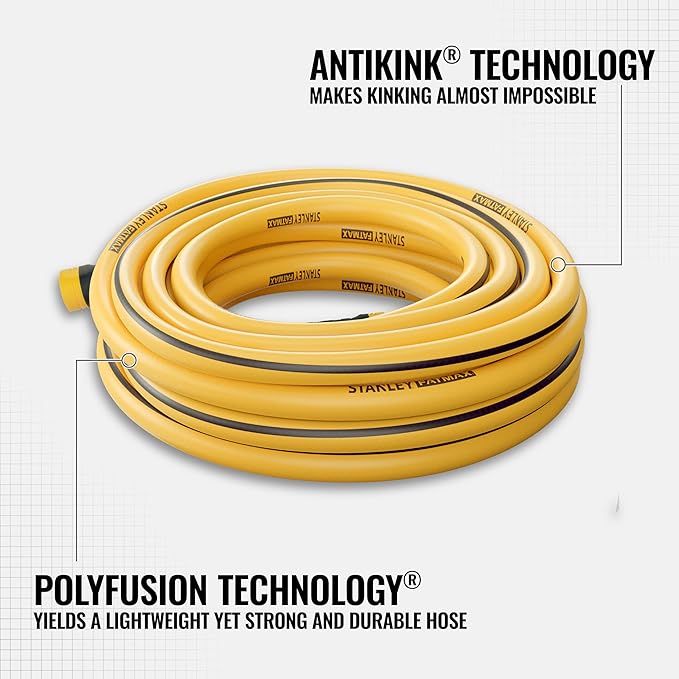
Buy on Amazon – approximately $30-60
Electrical Components:
12V Fuses (10-15A)
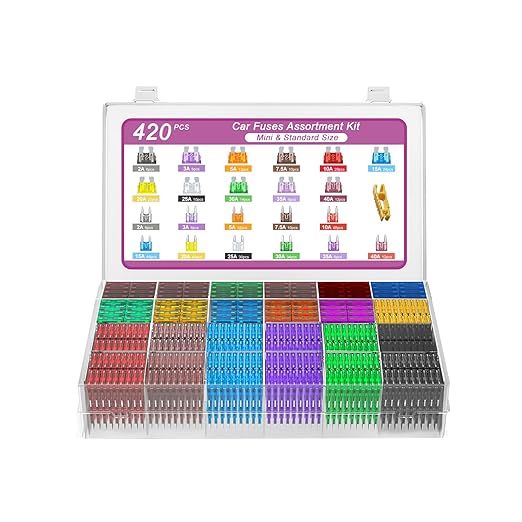
Buy on Amazon – approximately $10. Yes, buy a big pack of different sizes, it will come in handy on other projects.
Fuse Holder
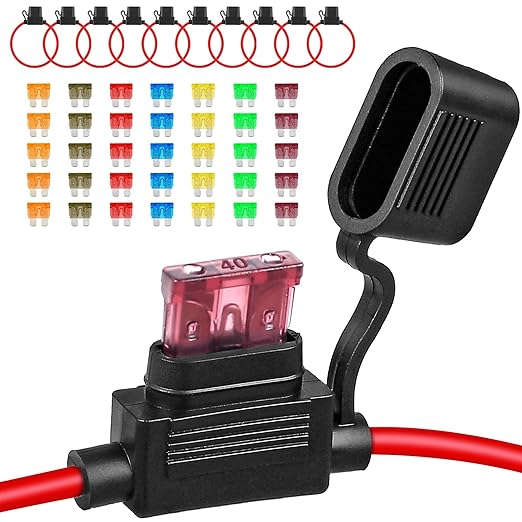
Buy on Amazon – approximately $8 including fuses. So you could buy this package and skip the above fuse big pack.
Alligator Clips or Battery Terminals
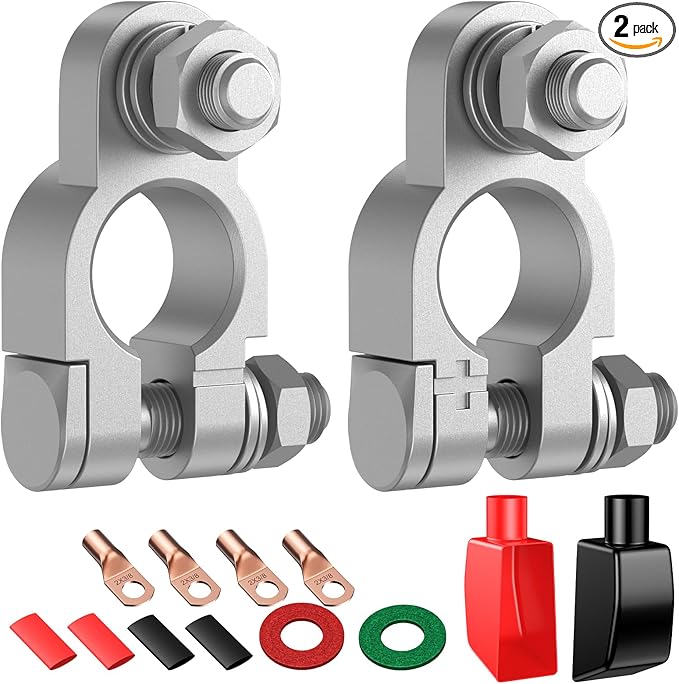
Buy on Amazon – approximately $18. I am a big fan of these old school terminals. There are a lot of other types and of course alligator clips, but i like these.
Cable (minimum 12 AWG)
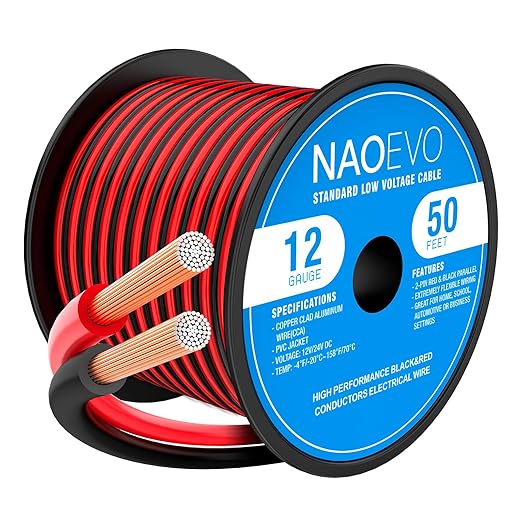
Buy on Amazon – approximately $18.
Total Cost: Approximately $220-350 depending on choice of battery and pump
Pump Selection
For this project, you need a submersible 12V pump. The most common options are:
RV Water Pumps (130-400 GPH) Designed to pump water from tanks in RVs and boats. Relatively quiet and energy efficient. Perfect for normal garden watering. I don’t have long distances since I’ve spread out my water collection points, and I don’t need to pump water very high. So this works for me. If you have greater heights to pump water or longer distances between the water source and what needs to be watered, I would go with a more powerful pump.
Submersible Garden Pumps (500-1000 GPH) More powerful pumps that handle larger volumes but draw more current. Good if you have large areas to water or want to fill larger tanks quickly.
My recommendation: Start with an RV pump at 12V and around 250 GPH. It provides sufficient pressure for most irrigation needs without drawing too much current.
Step-by-Step Build Instructions
Step 1: Prepare the Pump
Most 12V pumps come with short cables. If the cables don’t reach the battery (which they rarely do), extend them with 12 AWG cable. Use heat shrink tubing or splice connectors for secure connections.
Step 2: Install Fuses
Mount a fuse (5-15A) depending on the pump’s current draw) on the positive cable, as close to the battery as possible. This protects both pump and battery in case of short circuit.
Step 3: Connect to Battery
Use either alligator clips (for temporary connections) or permanent battery cables with ring terminals. Alligator clips are practical because you can easily disconnect the pump when not in use.
Step 4: Test the System
Fill a bucket with water and test that the pump works before using it for real. Check that it pumps water properly and that no connections get hot.
Usage and Tips
Practical Usage:
- Place the pump in the water container
- Connect the hose to the pump outlet
- Connect the battery
- Start the pump and water
Energy Saving Tips:
- Turn off the pump when moving between garden beds
- Use a timer or water systematically to avoid running the pump unnecessarily
- A 70Ah car battery usually lasts 3-5 hours of continuous operation
Safety Guidelines:
- Make sure all electrical connections are waterproof or kept dry
- Never lift the pump by the electrical cable – use the hose or the pump handle if available
- Never let the pump run dry (without water) – it will destroy the pump
Upgrade Possibilities
If you want to build a more permanent and less mobile solution, it can be a good idea to expand the installation with some good upgrades right from the start.
Pressure Accumulator: Add a small pressure tank (around $65) for more even water pressure and fewer pump starts.
Automatic Shutoff: A pressure switch can automatically turn off the pump when you release the spray gun.
Solar Panel for Charging: A 50-100W solar panel can keep the battery charged during the season.
Water Meter: To keep track of water consumption and pump times.
Benefits of Homemade Solution
Flexibility: You can adapt the system to your specific needs and budget.
Repairability: All components are standard parts that can be replaced.
Cost-effective: Significantly cheaper than ready-made portable pressure sprayer systems.
Educational: You understand how the system works and can troubleshoot yourself.
Alternatives and Comparisons
Ready-made Pressure Sprayers: Cost $250-500 but have limited tank volume and lower pressure.
Gas-powered Pump: Powerful but noisy, heavier, and requires fuel.
Manual Hand Pump: Cheap ($25-65) but very labor-intensive for larger volumes.
Conclusion
A portable 12V water pump is a fantastic investment for anyone who wants to use their rainwater effectively. For around $300, you get a system that makes garden watering simple and convenient, while reducing dependence on municipal water.
The project is simple enough for most people to complete over a weekend, and the result is a tool you’ll use season after season. Plus, it’s a perfect first step toward more self-sufficient and off-grid adapted gardening.
Have you built something similar or are you considering upgrades? Feel free to share your experiences and tips!